Honey Caramel RIce Krispie Treats
Honey Caramel Rice Krispie Treats
If you’re looking for a healthier homemade rice krispies treat recipe, then look no further than these Honey Caramel Rice Krispie Treats. My version of homemade rice krispies treats is made with from-scratch honey marshmallows, honey caramel, puffed rice cereal, oats, and (of course) rice krispie treats cereal!
Rice krispies treats made from scratch are so much better than the store bought version in every single way! I’ve always loved making classic rice krispie treats at home with melted butter, rice krispies, and a bag of marshmallows. That back-of-the-box recipe is already so perfect (tip: using browned butter makes it even better), but I wanted to take it a step further and make classic rice krispies treats at home without refined sugar, too.
If you’re looking for a healthier homemade rice krispies treat recipe, then look no further than these Honey Caramel Rice Krispie Treats. My version of homemade rice krispies treats is made with from-scratch honey marshmallows, honey caramel, puffed rice cereal, oats, and (of course) rice krispie treats cereal! This recipe creates perfectly crunchy, chewy, fluffy homemade rice krispies treats snacks for you and your family.
TELL ME MORE ABOUT THESE HONEY CARAMEL RICE KRISPIE TREATS
While traditional rice krispie treat recipes rely heavily on refined sugars, I opt for natural sweeteners and nutrient-dense alternatives that you won’t find in other homemade rice krispie treat recipes! These rice krispie treats consist of puffed brown rice, oats, rice krispies, and honey as the main ingredients. If you think that these taste “healthy” and not as good as traditional rice krispie treats…well, you just have to try them. I promise you won’t notice the difference, except that these taste even better!
HOW TO MAKE THESE CARAMEL RICE KRISPIES
The full instructions for these homemade rice krispies are below, but here’s the gist of it:
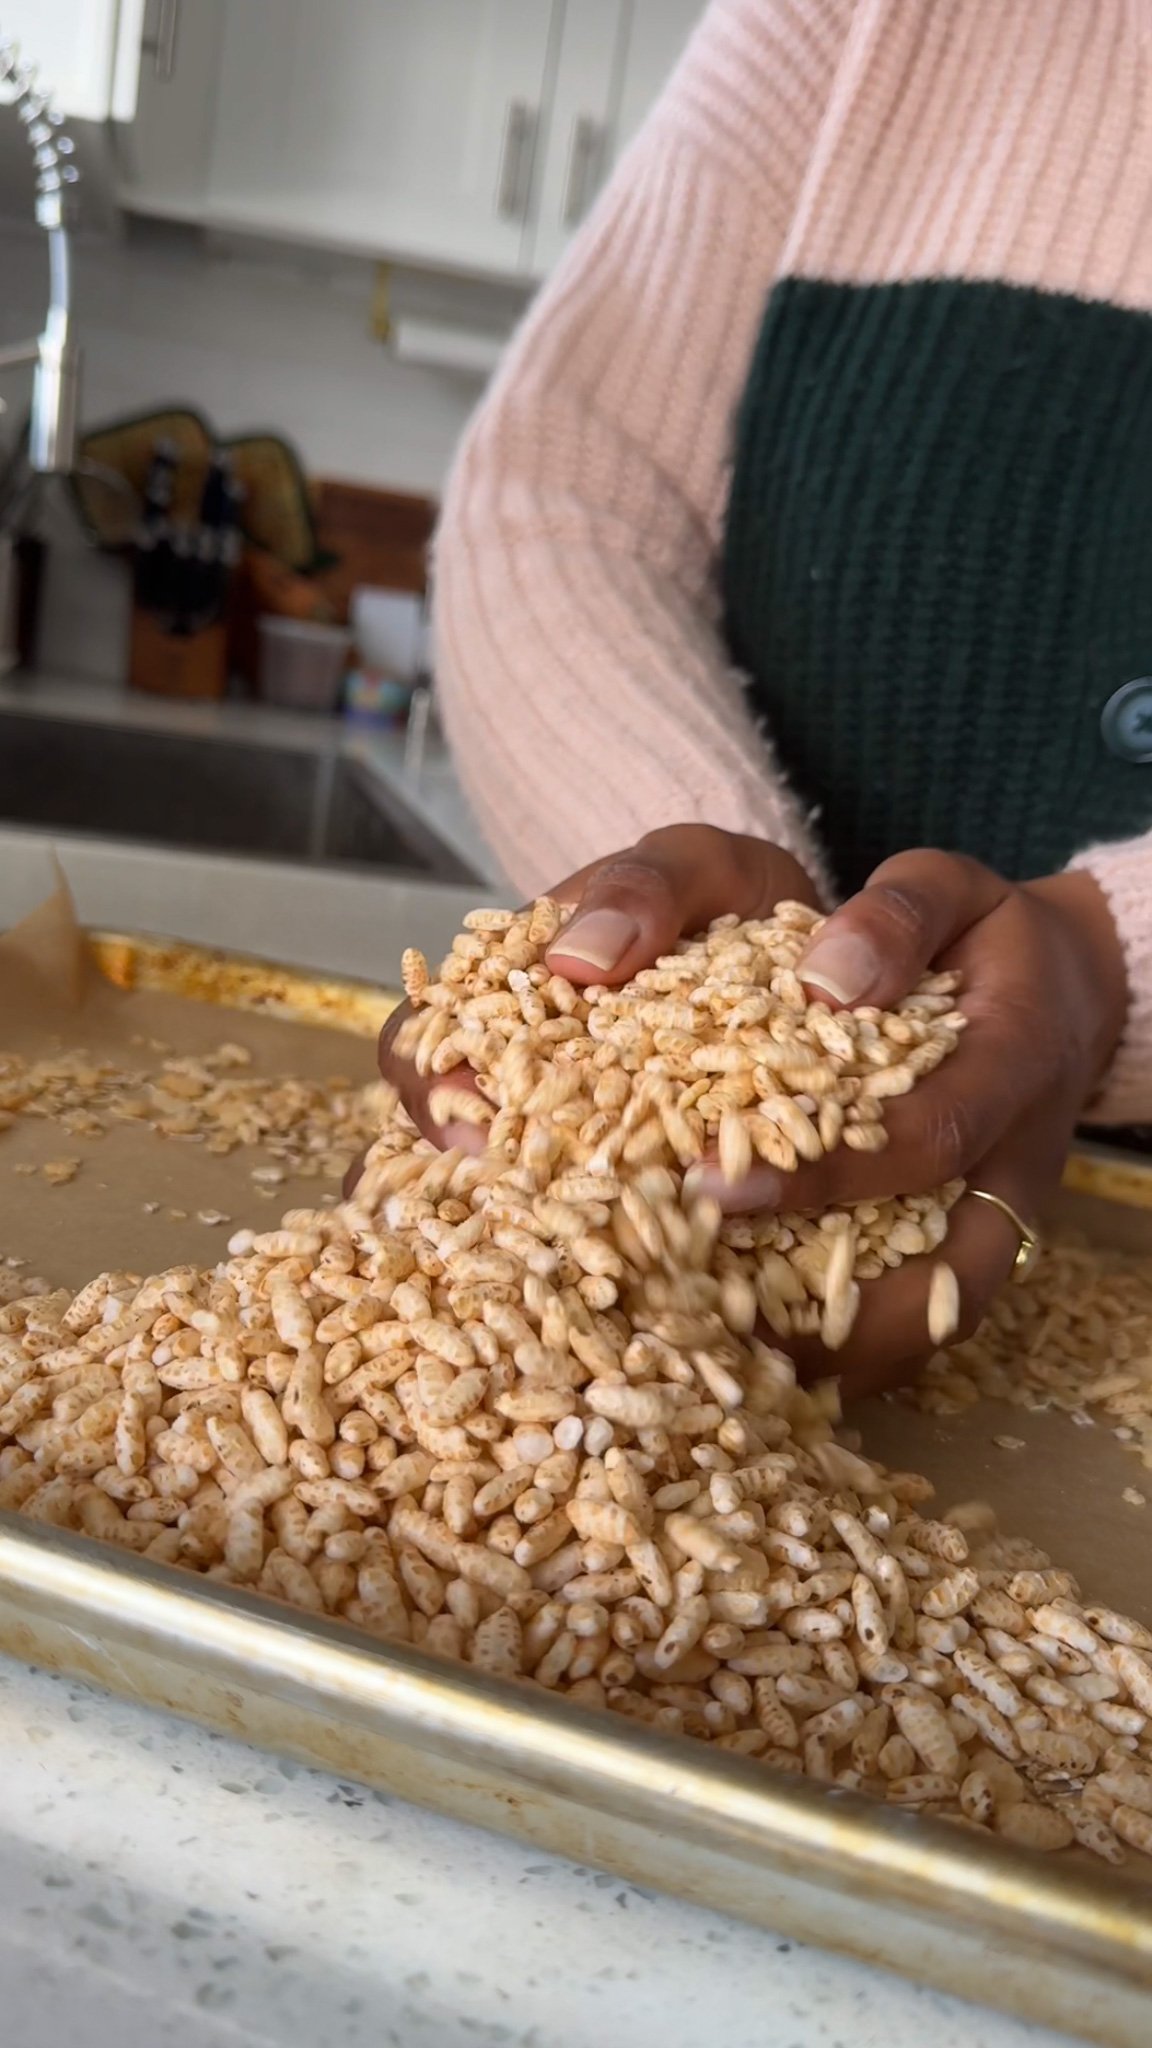
First, toast the puffed rice cereal, rice krispies treat cereal, and oats for about 15 minutes until lightly toasted. Then, heat coconut milk, honey, and butter over in a pan for about 5-6 minutes until the mixture thickens. This is our caramel!
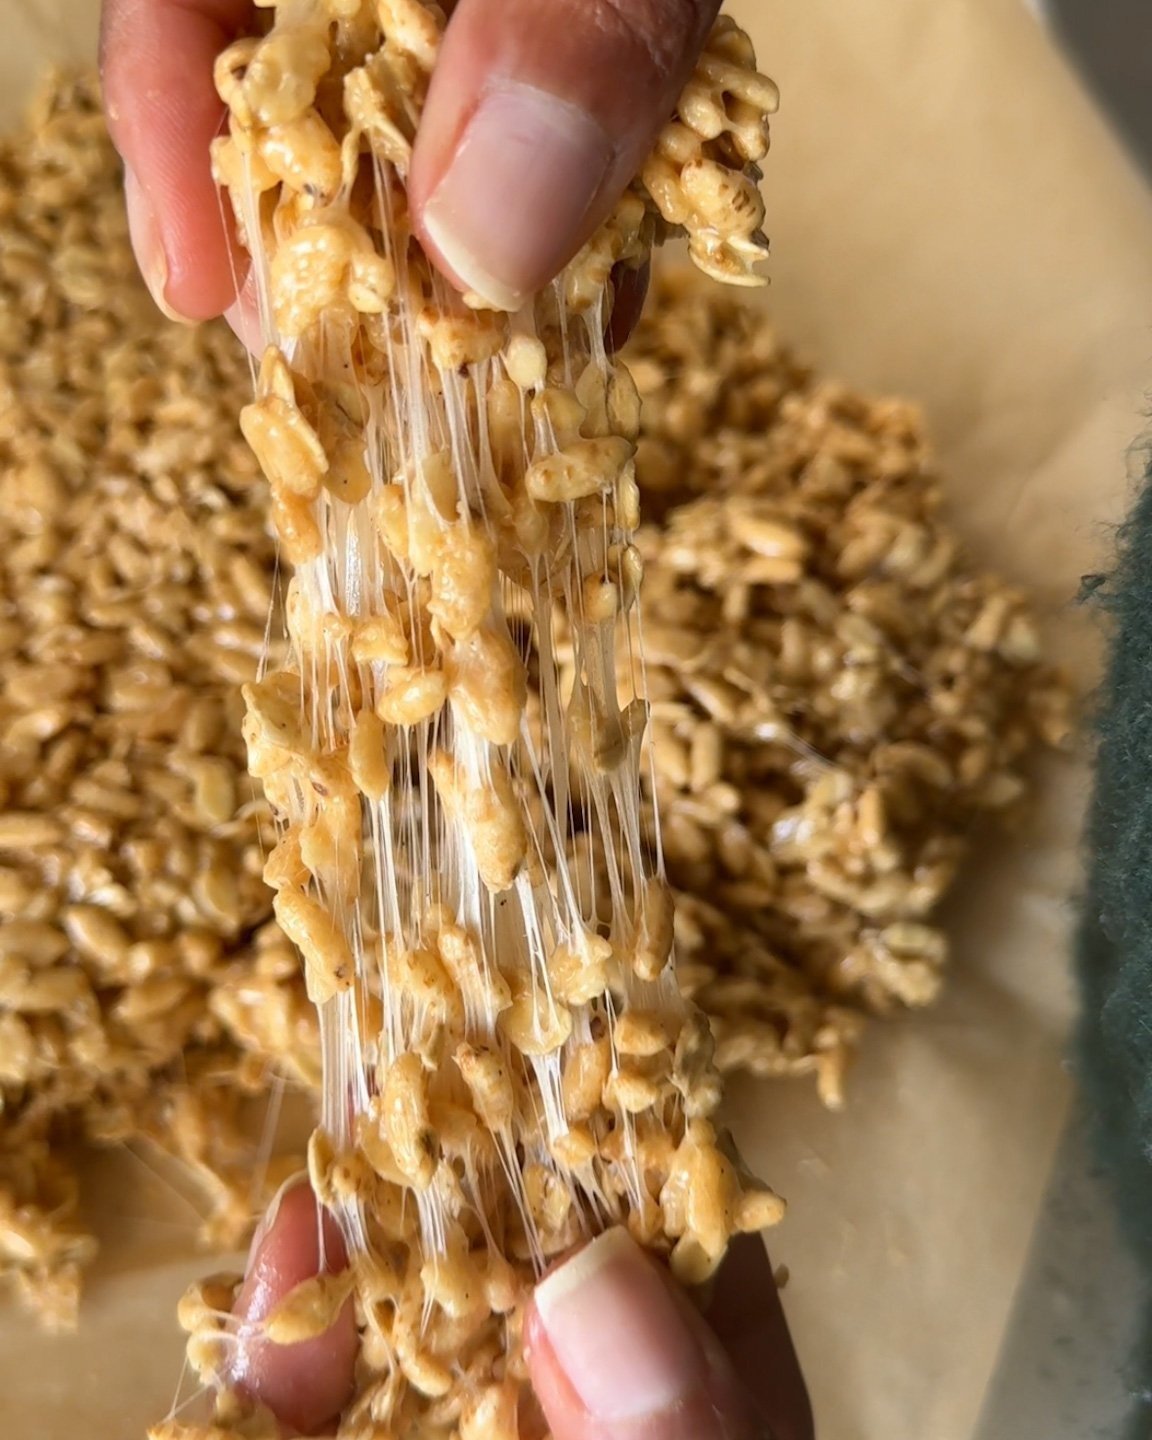
Add the homemade marshmallows, vanilla, and salt. Mix in the toasted cereals and oats until evenly coated.
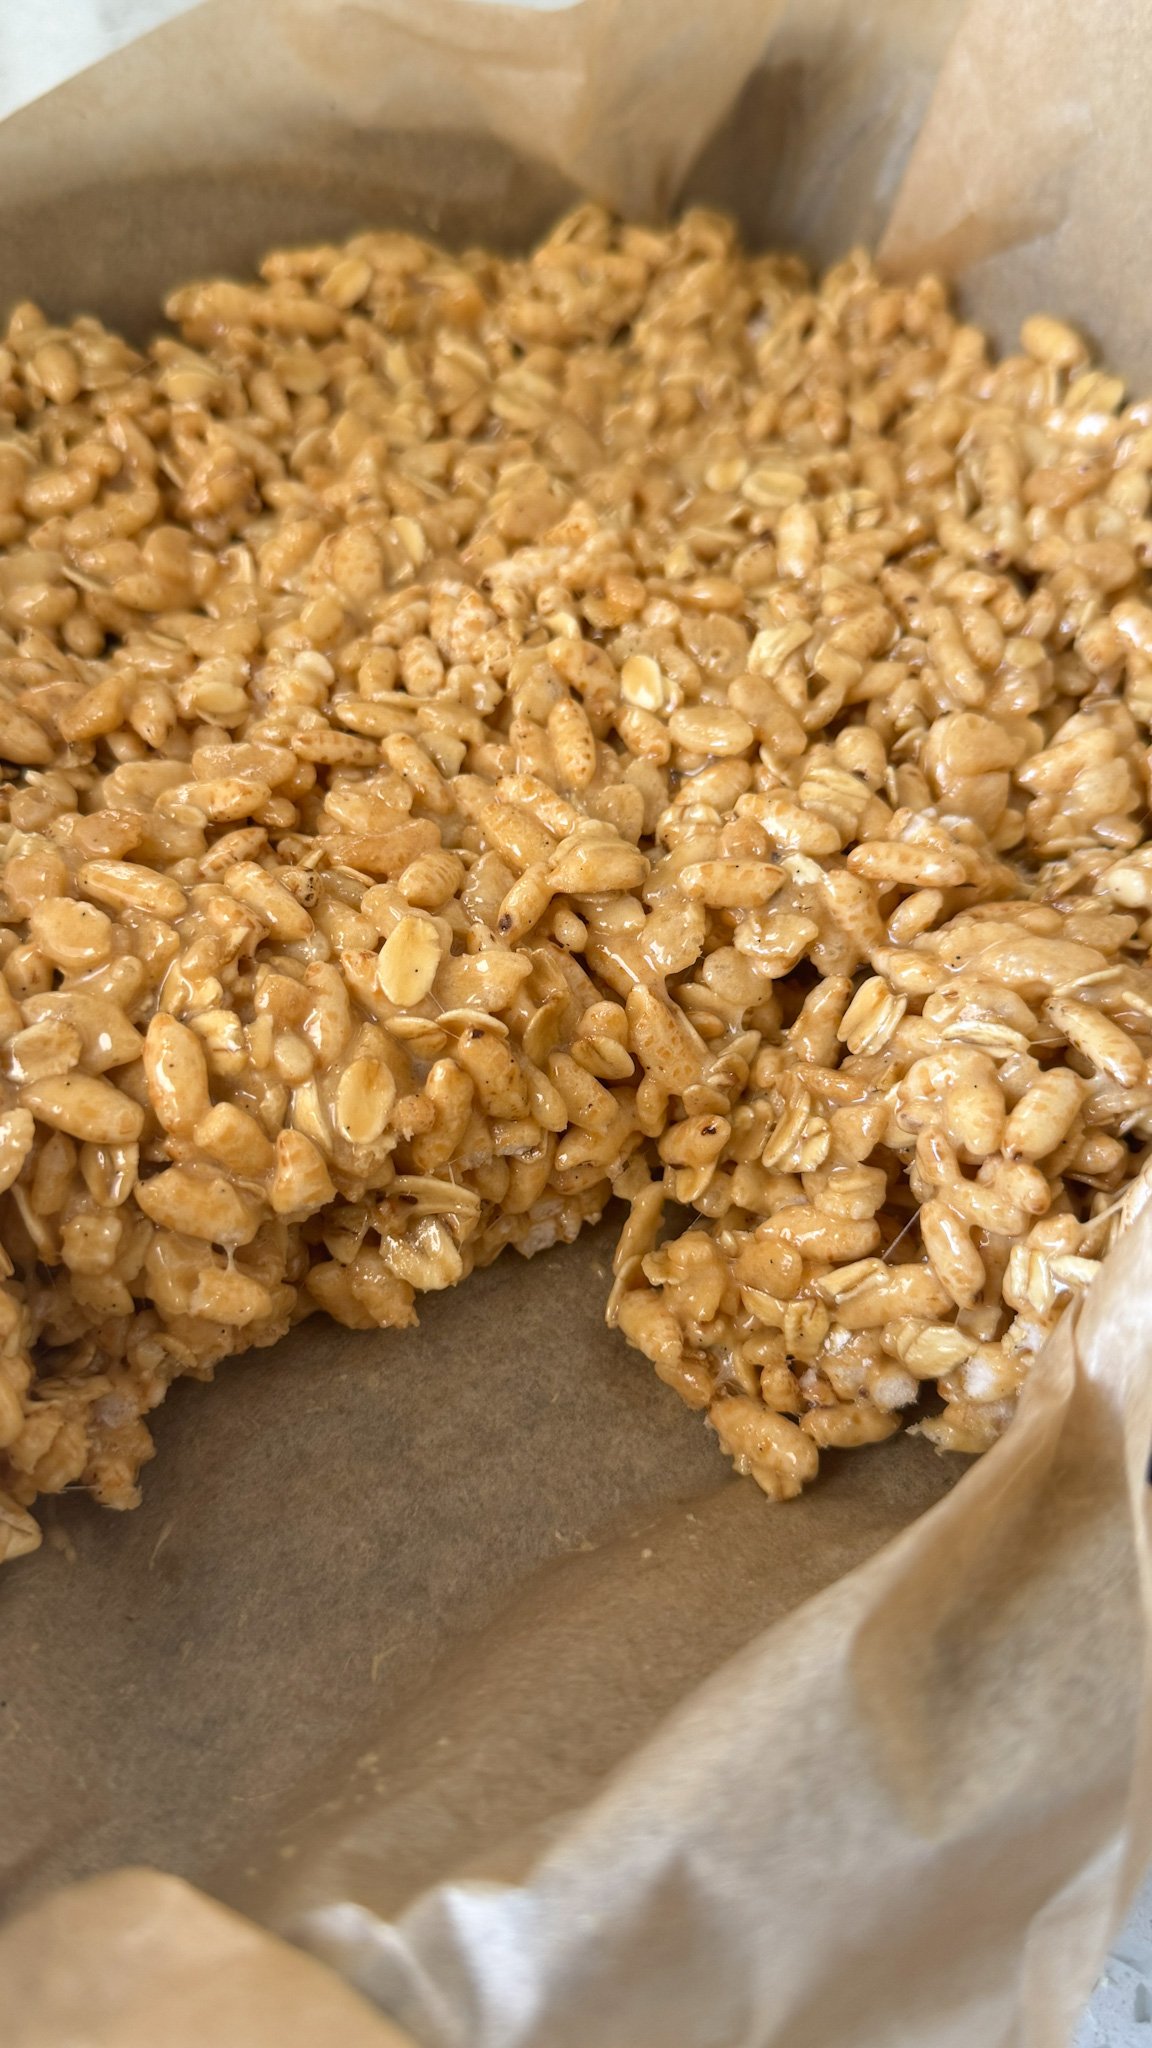
Transfer the mixture to a baking pan and let the mixture cool to room temperature. Cut into squares, and store in an airtight container for about 3 days.

KEY INGREDIENTS
puffed rice cereal (this is the one that I used)
rice krispies treats cereal
old fashioned oats
coconut milk
honey
butter (sub: Earth Balance butter if vegan)
marshmallows (here is my honey marshmallow recipe; you can certainly use store bought marshmallows, if you prefer)
vanilla
salt
How do I make homemade marshmallows?
The full recipe on how to make these homemade marshmallows can be found in the blog post linked here, but here’s an overview:
Line a pan with wax paper, and lightly dust the insides with the cornstarch.
Add hot water and the gelatin to the bowl of a stand mixer, stirring until the gelatin dissolves.
In a medium pan, combine water, honey, vanilla, and pinch of salt. Clip your candy thermometer to the side of the pan.
Simmer the mixture until it reaches 240F. Immediately remove the pan from heat when this happens.
Slowly pour the sugar mixture into the stand mixer, being careful not to splash it. Beat the mixture for about 10 minutes, until soft peaks begin to form.
Pour the mixture into the prepared pan.
Allow to sit at room temperature for about 4 hours.
Lightly dust the mixture with cornstarch, and cut the marshmallows into squares.
HOW LONG DOES THIS TAKE TO MAKE?
There are three steps to making this healthier rice krispie treats at home:
Make the marshmallows, which you prepare the day before (or, use store bought marshmallows to save time)
Toast the cereals, which takes about 15 minutes
Make the caramel and mix in the marshmallows, which takes about 10 minutes
In total, this recipe will take about 25 minutes to make, not counting the rest time.
DO I HAVE TO MAKE MY OWN MARSHMALLOWS?
You really don’t…but I do think my homemade honey marshmallows taste best for this recipe!
HOW CAN I MAKE THIS RECIPE VEGAN?
Use maple syrup in place of honey for this recipe!
Note: Rice Krispies Treats Cereal is not vegan, because the Vitamin D3 in it is derived from animals. Instead of using Rice Krispies Treats Cereal, replace it with equal amounts of the puffed rice cereal, instead.
YOU MAY ALSO LIKE

Honey Caramel Rice Krispie Treats
Ingredients
Instructions
- Preheat oven to 350 F. Line an 8" baking pan with parchment paper and set aside.
- Next, line a baking sheet with parchment paper and pour the puffed rice cereal, rice krispies treat cereal, and oats on top. Bake for about 15 minutes until the cereals are lightly toasted, tossing halfway through.
- In a large pot or Dutch oven, heat the coconut milk, honey, and butter over medium heat. Cook for 5-6 minutes, stirring constantly, until the mixture thickens. This caramel will be a light brown color–be careful not to let it burn.
- Turn off the heat, and add in the marshmallows, vanilla, and salt. Stir together until the marshmallows melt completely.
- Add in the toasted cereals and oats, and mix until evenly coated.
- Transfer the mixture to the 8" baking pan. Use the spatula or hands to press the mixture down lightly and evenly into the pan. Tip: if the mixture is too sticky, lightly wet your hands or the spatula with water to prevent sticking.
- Let the mixture cool at room temperature. Cut into squares, and store in an airtight container at room temperature for about 3 days.
Notes
Feel free to customize this recipe by adding dried fruits, chopped nuts, or even a drizzle of melted dark chocolate for an extra special touch!


I started salt n sprinkles to show that making good food is both fun and easy to do. My recipes are mostly plant-based, and always delicious. I know you'll find just what you're looking for!